|
1
|
- Tutorial for Quality Assurance scheme for Ultrasound.
|
|
2
|
- This tutorial is designed to be used AFTER the general tutorial on using
QAPonline. Please complete the general tutorial first since this
explains the process for registration and enrolment.
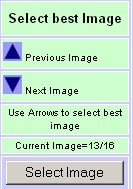
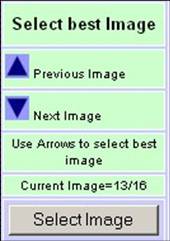
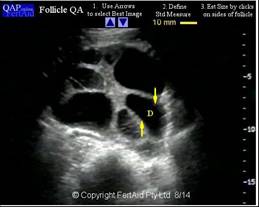
|
|
3
|
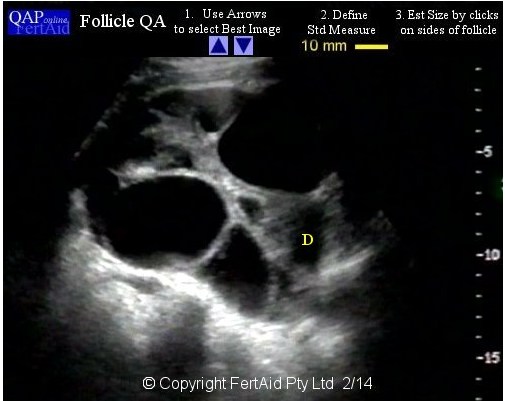
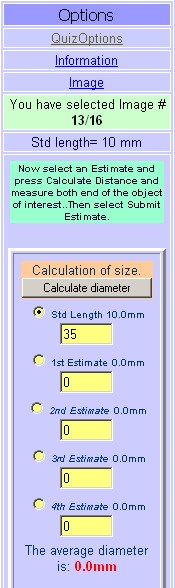
- Once your clinic/company has registered and subscribed, you should see
the ultrasound schemes listed on the company page. Select Enrol and
complete the details requested.
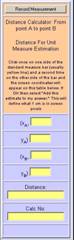
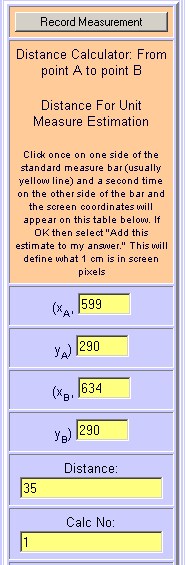
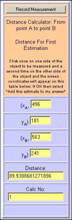
|
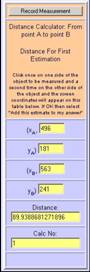
|
4
|
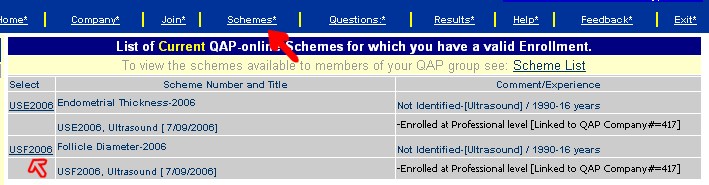
- Once enrolled, the Follicle schemes are accessed via the Schemes Option
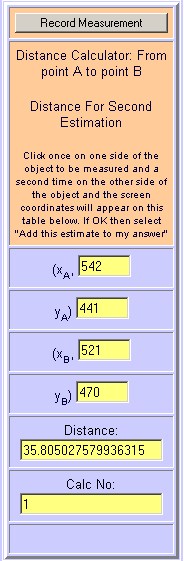
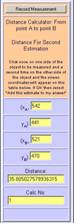
found in the Upper menu. Select the US QA Scheme.
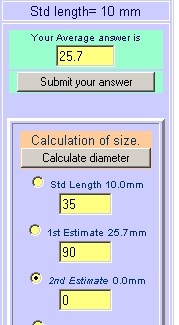
|
|
5
|
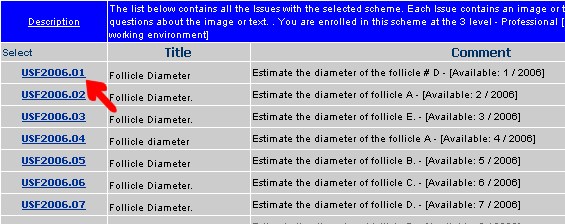
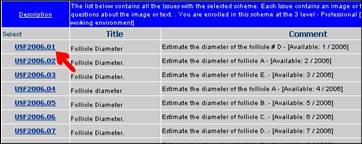
- The list of monthly instalments are displayed. Each month, a single
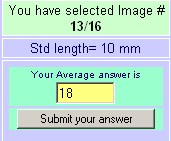
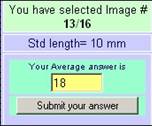
follicle is assessed for diameter. Select a monthly instalment.
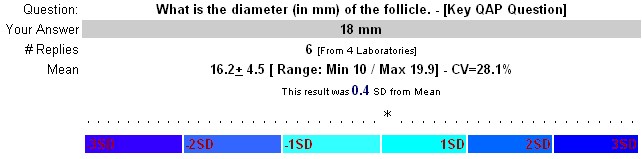
|
|
6
|
- The monthly instalment is displayed including..
- An animated file of the whole ovary
- Slide show for you to review.
- Question to select.
|
|
7
|
- The animated images shows you all the images through the whole ovary and
is for illustration purposes only.
|
|
8
|
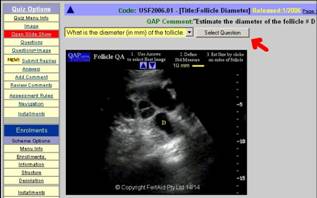
- The slide show is also for review purposes only. They are there to allow
you to see where the nominated follicle fits into the order of things.
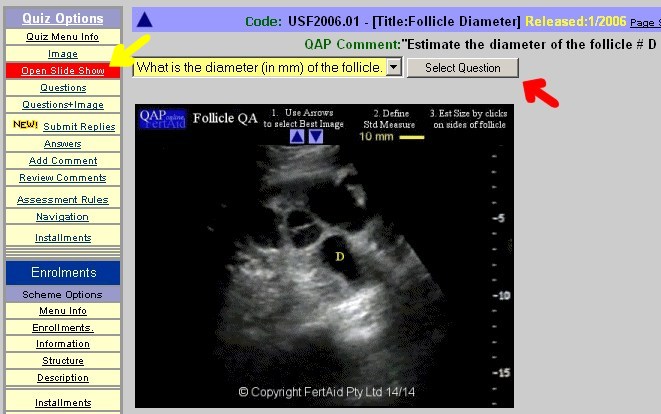
To do the question, select SELECT QUESTION.
|
|
9
|
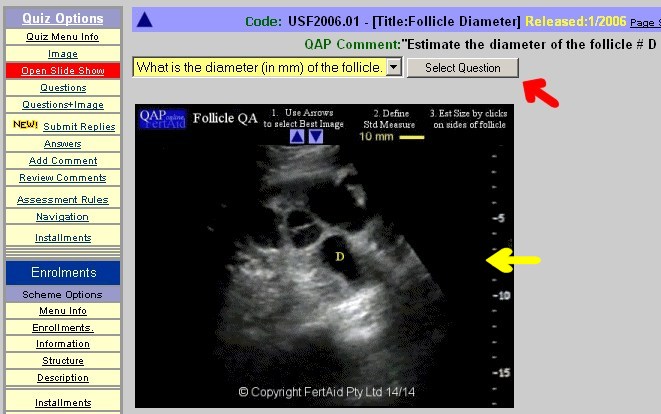
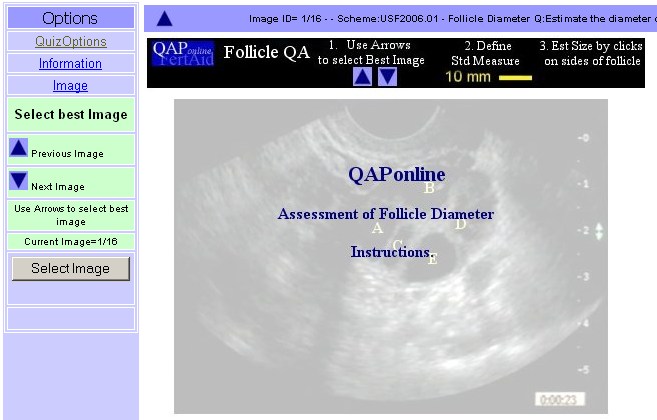
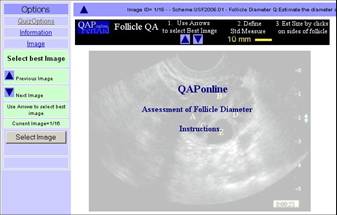
- Selecting the question opens the QA assessment.
|
|
10
|
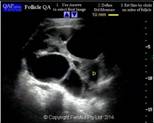
- Pause for a moment to understand the way QAP-US works.
- In a working environment, the scanner moves the probe over the follicle
until the “best” image is found and then the image is frozen.
|
|
11
|
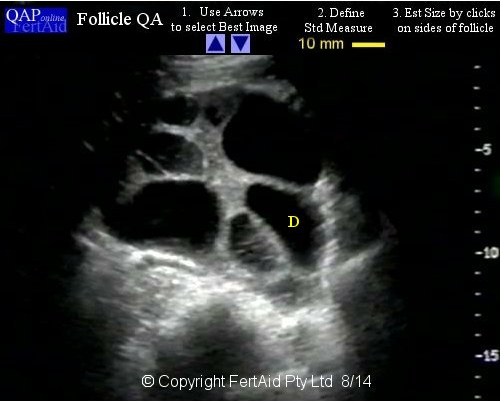
- In QAPonline, the video image has been broken down into a number of
static images.
- To select the “Best” image, you need to use the blue arrows to navigate
between the images to select the image that you think portrays the
follicle at is “Best”.
|
|
12
|
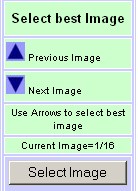
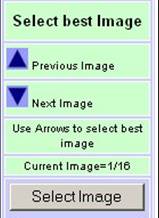
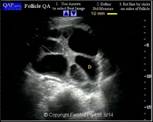
- Use the Up and Down blue arrows to select the image that you consider
best reflects the best diameter to measure.
- When happy select “SELECT IMAGE” to lock the image in place for
measurement.
|
|
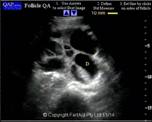
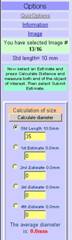
13
|
- The counter on the panel tells you which image you are looking at.
- Press the SELECT IMAGE button when the best image is found.
|
|
14
|
|
|
15
|
- QAPonline US works in the following order.
- Estimating the diameter by performing a mouse click on either edge of
the object eg a follicle
- The system estimates the distance between the 2 mouse clicks as a length
in pixels.
- It compares the length in pixels to a standard length
- Calculates the diameter in millimetres.
- The system allows up to 4 estimates that it averages.
- The final, averaged value is submitted.
|
|
16
|
- QAPonline US therefore seeks to simulate the normal procedure for
determining follicle or other object lengths by
- Scanning through series of images
- Selecting an image of best diameter
- Moving the pointer both sides of the follicle
- Reading the length.
- So how to do this with QAPonline - US
|
|
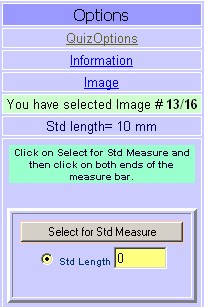
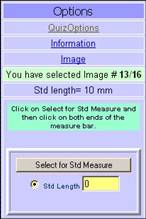
17
|
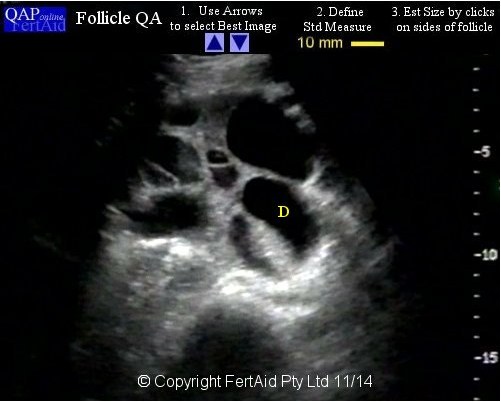
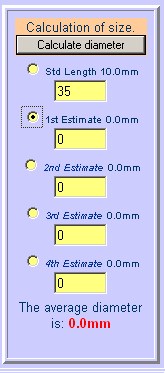
- Once the image has been selected, you now need to define a standard
length. For US the standard length is 10mm.
- First select “Select for Std Measure”
|
|
18
|
- Click ONCE on the left side of the yellow space bar
- Click once on the right side of the space bar.
- This write the screen coordinates to the panel
|
|
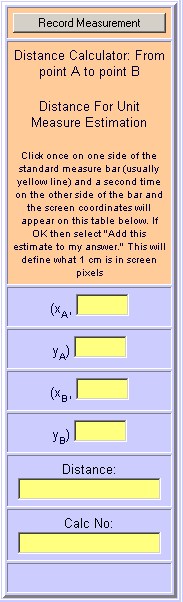
19
|
- Each mouse click completes the screen coordinates for the click.
- After both clicks, the 4 boxes contain the x,y coordinates for both
clicks.
- Select “Record Measurements.’ to lock this distance in place.
|
|
20
|
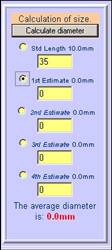
- The system now knows that the distance of the yellow bar is 10mm
- To make the first follicle diameter estimate, select the radio button
for “first estimation.”
- Now select “CALCULATE DISTANCE”
|
|
21
|
|
|
22
|
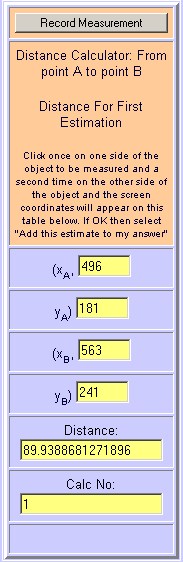
- One click on the left, one click on the right…
|
|
23
|
- One click on either side of the follicle marks the distance to be
estimated.
- The screen coordinates are written into the x,y boxes.
- Select Record measurement to lock this value into place..
|
|
24
|
- The system then estimates the length in pixels between the 2 sides of
the follicle.
- Compares this to the standard length and then estimates the diameter in
mm
- Writes the follicle diameter in the answer box at the top.
|
|
25
|
- You can either submit the initial estimate or you can make another
estimate by selecting the radio button for 2nd estimate and
pressing “Calculate diameter” again.
|
|
26
|
- Again one click on one slide of the follicle and a second click on the
opposite side of the follicle.
|
|
27
|
|
|
28
|
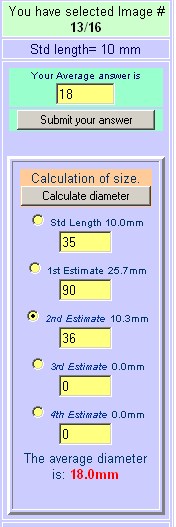
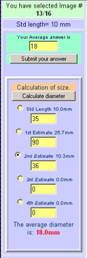
- When you select “Record Measurement”
- The system estimates the second diameter
- Writes this to the second estimate
- Recalculates a new average diameter to submit.
|
|
29
|
- When you are happy,
- Select “Submit your answer”
- This is your reply to the question.
|
|
30
|
- When you have answered the question, you can review your answer by
selecting the question hyperlink.
|
|
31
|
- The summary page revels
- Your answer,
- The mean, the SD and CV of all answers
- The Number of SD units from the mean you answer is.
- This is a measure of how close you are to the average reply.
|
|
32
|
- To understand how this works within QAPonline, you will need to also
review the general tutorial.
- If you have any queries, please contact FertAid at office@fertaid.com
|

 Notes
Notes